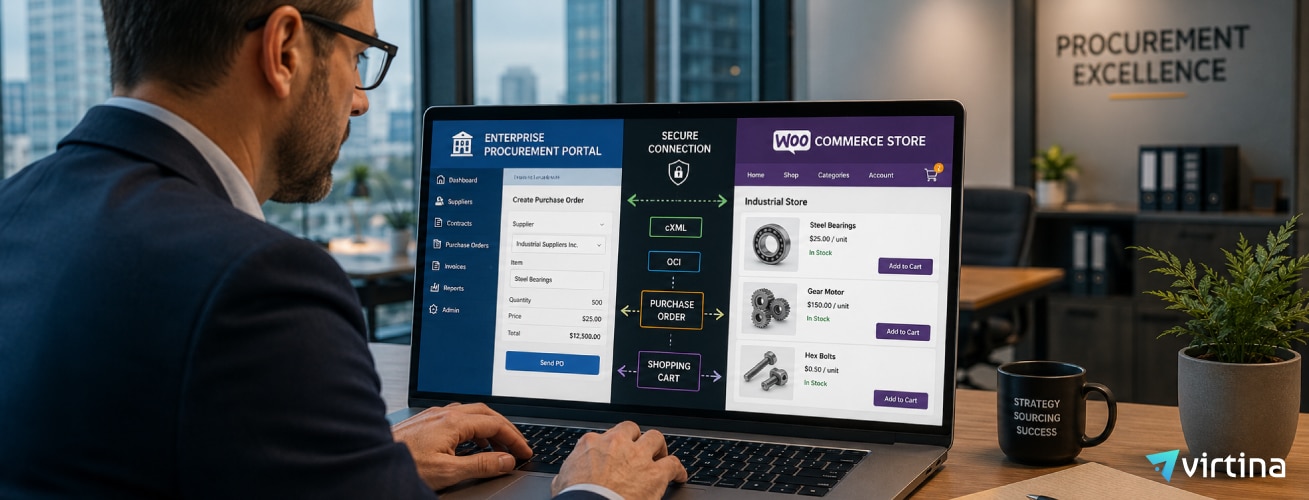
Merchants who want to create a product detail page on their WordPress website must rely on the WooCommerce plugin. The WooCommerce plugin is free to download and install. Furthermore, it comes with a host of in-built features and functionalities. As such, you can integrate a Product Page in a matter of hours.
The painless and seamless integration will equip your WordPress site with a product page in no time. To learn more about the same, read all the step-by-step instructions mentioned below. Once done, you’ll have a product page on your WordPress site.
Steps to create a Product Page on your WordPress site.
Step 1 – Before you start anything, you’ll need to go to the WordPress plugin store. The reason is that merchants cannot proceed until they have installed a suitable plugin required to achieve a product page for your site. Once they have accessed the plugin marketplace, they’d need to search for WooCommerce.


To do that, you will need to click on Plugins and then on the Add New page inside your WordPress admin area. Find the WooCommerce plugin by typing the plugin name. Once done, you’ll see a listing of relevant plugins. Now, select the WooCommerce plugin from the results.
Click on download, install the plugin and activate the same on your WordPress website. The plugin will not work unless you activate it. The WooCommerce plugin is free and won’t cost anything. Ensure you get your hands on the latest version of the WooCommerce plugin.

Step 2 – Once you have installed the WooCommerce plugin on your website, click on “Install WooCommerce Pages.” You will see the notification message that appears on the dashboard right after the first step. This would allow you to set up the Shop, Cart, Checkout and My account page. All you need to do at this stage is click on the “Continue” button. WooCommerce will create those pages for you. You can also go on to add your locale, sales tax and payment methods, if needed.
Step 3 – In Step 3, you will need to add and manage new products. To put this in place, merchants will need to select the second tab called “Products.” The “Products” tab appears on the dashboard’s side menu. The first tab, called “WooCommerce,” only consists of general settings.

When done, you may need to click on the “products” tab and then click on “Add Product.” When you click on this, you’ll be able to start adding products. Once done, merchants can add the title and description for the product. Following this, you scroll down to the post editor to reveal two new widgets.
These widgets will appear on the post editing screen. The two widgets are product data and product short descriptions.
Step 4 – Once done, click on the Products tab and select “Add New.” In case you sell physical products, then select either simple products, grouped products, external products or variable products. But, do not check virtual or downloadable. In case, you sell digital products, follow the same process. But, vheck either virtual or downloadable. Digital products do not need any shipping information. Thus, there won’t be a shipping data tab. Do so only if you sell virtual or downloadable products.

Once done, merchants need to add an SKU (Unique Identification Number) for the product. They would also have to add the regular and sales prices on the “general” tab. The sales price is the adjusted price for the sales season. In the case of digital products, you need to upload the relevant digital file. Merchants can adjust the download limit, expiry date, and file type.
Step 5 – On Step 5, you will get to update the inventory details. The Inventory tab will help you to customize and manage the stock count. Merchants can enter the number of SKUs and stock status. When you have run out of a given product, you will set that as unavailable. You can also change other options about the product.

You can even enter the number of pieces available and allow backorders. In the SKU field, you can set the number of units for sale. In case, you would like to limit the number of orders of a given product to one per one order. Merchants can set a “low stock threshold.” Enabling this will allow them to get a notification. The notification arrives whenever the stock count drops below the preset value.

Step 6 – In case it’s a physical product, you will see a shipping tab. You can change details like weight, dimensions, shipping class, and other physical product metrics. Merchants will also see a “Linked” tab. They can use the “Linked” tab to control recommendations on that product page. The recommendations will allow you to set different cross-sell and up-sell info.

Using the “Attributes” tab, merchants can add more information about the product. The Attributes will help you to set and vary the various product parameters. Some of these parameters are color, sizes, and more. Product attributes are additional features you assign to products. The configuration will let you show that as additional Information on the product page.
Step 7 – Merchants can use the Variations and Attributes tab to create variable products. The use of variations will help the customer to select the color or size of a product from a simple list. Merchants can also create a separate product page for each variant. In that case, they wouldn’t need to use the variations tab.

Once done, merchants can use the “Advanced” tab to add custom purchase notes. A purchase note is what appears after a customer has placed an order. You can even add menu orders. Furthermore, you can enable or disable customer review options about the product in the Advanced Tab.
Step 8 – Now, scroll down to “Product short description” to add a little info about the product. Limit the description to 2-3 sentences. The short description appears under the title on your product page. The earlier entered description is far more detailed and elaborate.

That appears somewhere around the product. The short info gets detected by SEO crawlers. Thus, merchants can use the short info to add high volume and relevant keywords. This will help them to secure a better ranking on search engines. The placement of more keywords will help the page to rank higher on search engines.
Step 9 – Go ahead and add category and tags to your product. This will help your customers to find products in the store. Merchants will even get to add the main image of the product in this section. Furthermore, you can even add extra images. The extra images give the customer a better understanding of the product. They will be able to view the product from different angles. The images will appear in a gallery format on the product page.
Step 10 – Go through all the information. Double-check to see if the product details entered are correct. Once done, you can hit “Publish.” Clicking on “Publish” will make the product page live on your WordPress site. The product page you see is, in a way, a WooCommerce product page. From here onwards, merchants can even customize their WooCommerce product page.